FreeUnlocks.com

Jul 19

Everything You Should Know Before Changing Carriers

Switching network providers can be a hassle, but there are valid reasons why you might consider it, such as saving money or seeking better coverage. While the variety of products and pricing available online can be overwhelming, knowing what to look for can make the process easier. In this article, we’ll explore the key considerations to keep in mind before making the switch.

1. Check the coverage areas

Before switching network providers, it’s essential to assess the coverage areas. Great customer service, affordable plans, and top-notch devices won’t be of much use if your carrier can’t keep you connected when you need it. Start by examining the official coverage maps provided by the prospective carriers. 

While these maps may not be perfect, they will give you a reasonable notion of the quality of coverage in your region. Additionally, consider checking the coverage in other important locations such as your parents’ home, your weekend vacation lodge, and your workplace. Evaluate the voice and data coverage as well as the expected speeds to make an informed decision.

2. Learn more about the carrier’s offerings

The sheer volume of available options can be time-consuming, but it’s crucial to explore what each carrier has to offer. Beyond the final cost, take a closer look at bundles, discounts, or freebies that may be included. 

For example, if you frequently travel for business or want to ensure your kids can watch YouTube on road trips, check the local laws regarding mobile tethering. Another important consideration is the cancellation period offered by the new carrier, allowing you to change your mind if needed.

3. Check with someone familiar

An excellent way to gather information about a network’s coverage, pricing, and customer service is to talk to someone you know who already uses that network. They can provide valuable insights into the switching process and share their experiences. 

Just as reading product reviews provides context for an item’s features, conversing with someone familiar with your potential new carrier can be quite informative. Don’t forget to inquire about international roaming if your acquaintance has traveled internationally.

4. Learn the switching process:

Switching network providers may involve more steps than you anticipate, such as unlocking your SIM and transferring all your data to a new phone. If your phone is locked to a certain network provider, you’ll need to unlock it first before you can switch carriers. Here’s a basic overview of the unlocking process:

  • Visit https://www.freeunlocks.com/
  • Select the brand of your phone.
  • Enter your phone’s IMEI.
  • Provide your email for confirmation.
  • Choose the country where the phone is locked.
  • Select your network/carrier.
  • Confirm your payment and wait for an email confirmation.
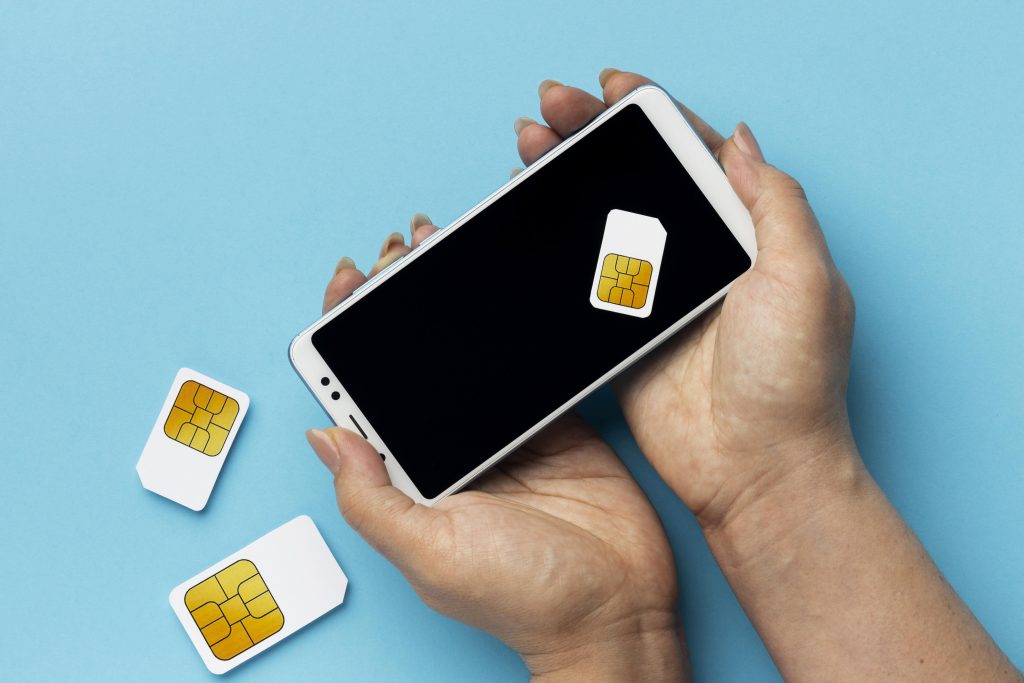
  • Insert an unauthorized SIM Card and turn on your phone.
  • When prompted, enter the unlock code provided by FreeUnlocks

Remember, if your phone is already unlocked, you can skip the unlocking process and proceed directly to switching to your new carrier. Enjoy your new network provider!

Conclusion

While there may be obstacles to overcome when switching carriers, the process is often quicker and simpler than anticipated, especially compared to the past. By examining coverage areas, exploring carrier offerings, seeking advice from others, and understanding the switching process, you can make an informed decision and ensure a smoother transition to your new network provider.

Remember, whether you’re looking to save money or improve your coverage, switching carriers can be a worthwhile endeavor if you approach it with the right knowledge and preparation.

Can we unlock your phone? Start here!

Jun 18

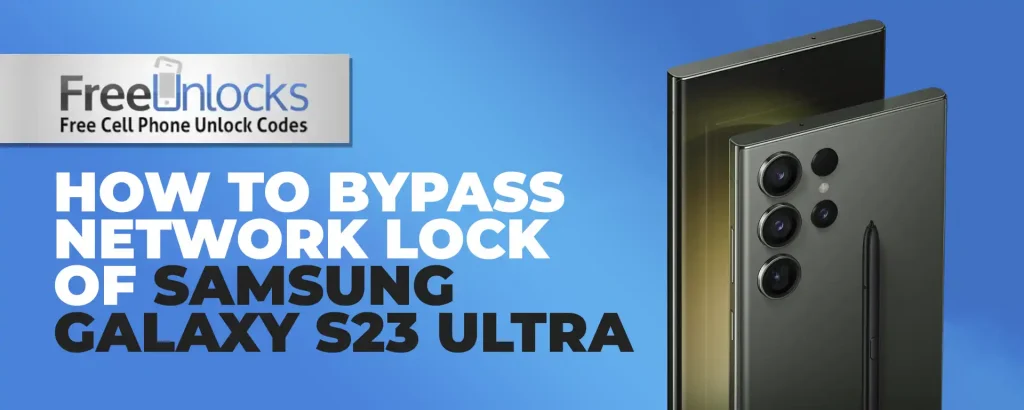
How to Bypass Network Lock of S23 Ultra

Are you the proud owner of the magnificent S23 Ultra smartphone, but find yourself frustrated by its network lock? Fear not, for we have a solution that will unlock the true potential of your device. 

In this blog post, we will guide you through the process of bypassing the network lock of the S23 Ultra, enabling you to explore a world of possibilities. So, fasten your seatbelts and get ready to unlock the full power of your smartphone!

Understanding Network Lock

To begin, let’s delve into what network lock actually means. Network lock, often imposed by mobile network providers, restricts your phone’s compatibility to a specific carrier. This means that you cannot use your S23 Ultra with any other network provider unless you bypass this lock. By bypassing the network lock, you gain the freedom to choose the carrier that best suits your needs, along with enjoying various other benefits.

Why Bypass the Network Lock?

By bypassing the network lock on your S23 Ultra, you open up a world of possibilities. 

Here are a few reasons why you may consider doing so: 

  • Freedom of Carrier Choice: Unlocking your device allows you to switch to a different carrier of your choice, offering better network coverage, pricing plans, or additional features. 
  • International Travel: When traveling abroad, you can use local SIM cards to avoid exorbitant roaming charges and enjoy local data and call rates. 
  • Resale Value: Unlocked devices tend to have higher resale value, as they can be used with any carrier, making them more appealing to potential buyers.

Backup your device before Unlocking

It’s optional to back up the data on your Samsung S23 or S23 Ultra before moving further with carrier unlocking. This will guarantee that you don’t lose any important data while carrier unlocking is being done. By connecting your device to a computer and moving your information to a secure location, you can backup your data.

Samsung Galaxy S23 Ultra Unlock Guide

Utilizing an unlock code for a Samsung Galaxy S23 or S23 Ultra locked phone is easier than you would imagine. It does not need any equipment or knowledge. Please take the following steps:

  1. Please visit : https://www.freeunlocks.com/unlock-samsung-galaxy-s23-ultra
  2. Choose which country your phone is locked.
  3. Choose your network provider?
  4. Enter the IMEI number for your phone
  5. Enter your email address
  6. You will be allowed to choose the country where the phone is locked.
  7. Select the network or provider to which the phone is locked.
  8. Check to see whether your payment went through, then wait for an email with a confirmation.

Please perform the following procedures:

  • Remove the original SIM card that comes with your phone
  • Insert whatever SIM card you want.
  • A box with an entry field on the screen should instantly appear so you may input the unlock code.
  • Enter the unlock code that FreeUnlocks provided for you.

Conclusion

Congratulations! By following the methods outlined above, you are now equipped with the knowledge to bypass the network lock on your S23 Ultra smartphone. Remember to exercise caution and stay within legal boundaries when attempting any network unlocking methods.

Unlocking your device opens up a world of possibilities, allowing you to choose your preferred carrier, travel internationally without restrictions, and explore various customizations and features. Enjoy the full potential of your S23 Ultra and make the most of your smartphone experience!

Can we unlock your phone? Start here!

May 18

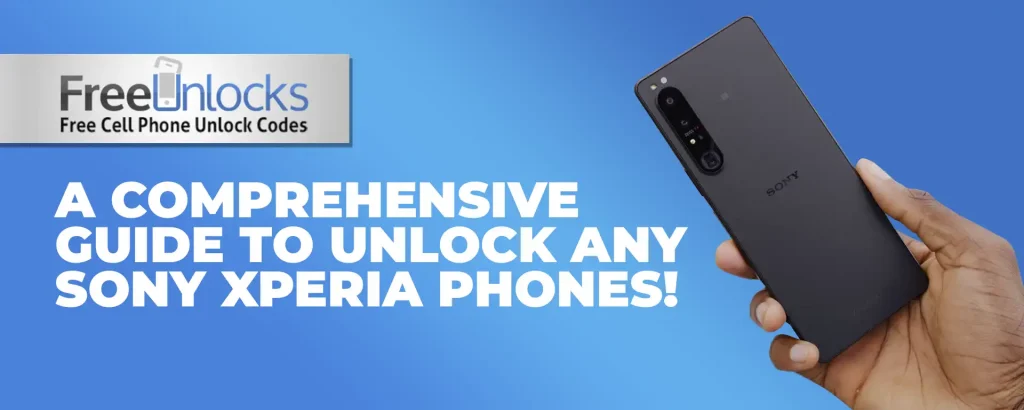
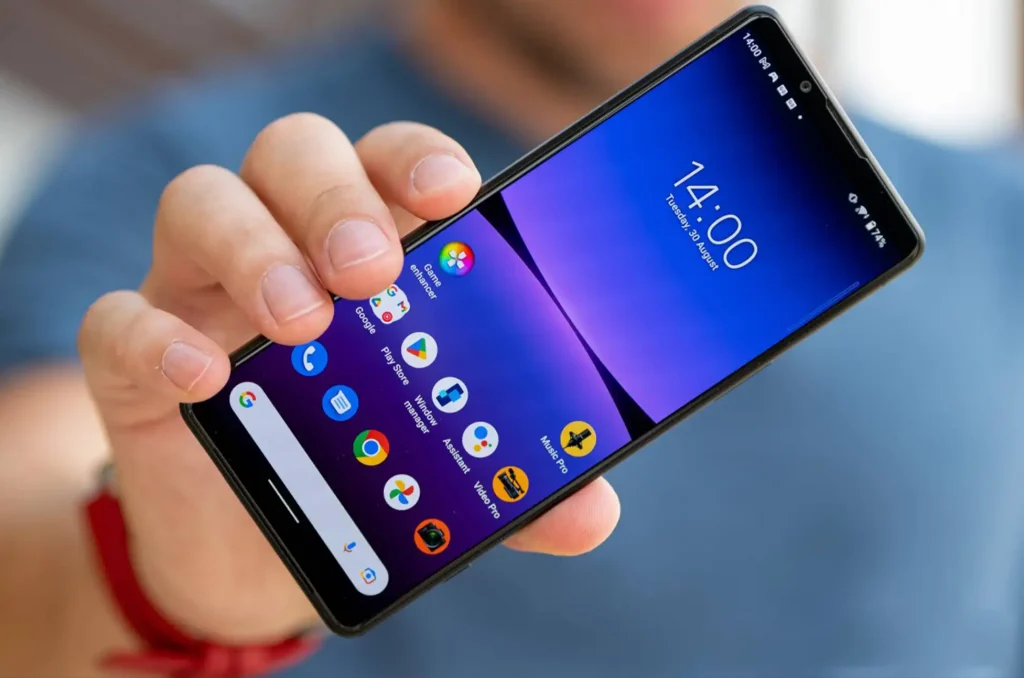
A Comprehensive Guide to Unlocking Any Sony Xperia Phones!

Are you currently facing the frustrating issue of a locked Sony Xperia phone? If so, you’re not alone. Many users have experienced this problem and it can be quite a hassle to deal with. Fortunately, there are solutions available that can help you unlock your device and regain access to all of your important data and apps. In this blog post, we’ll explore some of the common causes of a locked Sony Xperia phone and provide tips on how to unlock it. So, if you’re ready to say goodbye to the frustration of a locked phone, keep reading!

What does it mean when a Sony Xperia device is locked?

If you’re wondering what it means when your Sony Xperia phone is locked, we’ve got you covered. Essentially, a locked phone can only be used with the service provider that you originally purchased the phone from. This can be frustrating if you want to switch providers or use your phone while traveling internationally. 

Have you ever wondered what happens to your locked phone when your contract with your provider ends? Well, let me tell you that even if you have paid your phone in full, it will not automatically become unlocked. This means that you will still be tied to your current provider and unable to switch to a different one without unlocking your phone first.

Why Unlock Sony Xperia Phone?

Unlock Sony Xperia phone can be a great way to gain more control over your device. But before we get into the details of how to unlock your phone, let’s first explore some of the reasons why you might want to do so. In this blog post, we will explore a few reasons for a particular topic. Stay tuned to discover the insights.

  1. Switch carriers

If you have a problem with your current carrier’s service or pricing, you may wish to transfer to one that better meets your requirements.

  1. Travel abroad

Unlock sony xperia phone will allow you to use a local SIM card and avoid expensive roaming fees if you plan to travel abroad.

  1. Increase Resale Value

If you want to increase the value of your phone, make it carrier independent. This will immediately increase the value of your phone should you ever decide to sell it.

How to Unlock Sony Xperia Phone?

To unlock Sony Xperia mobile phone, simply follow to the instructions provided below.

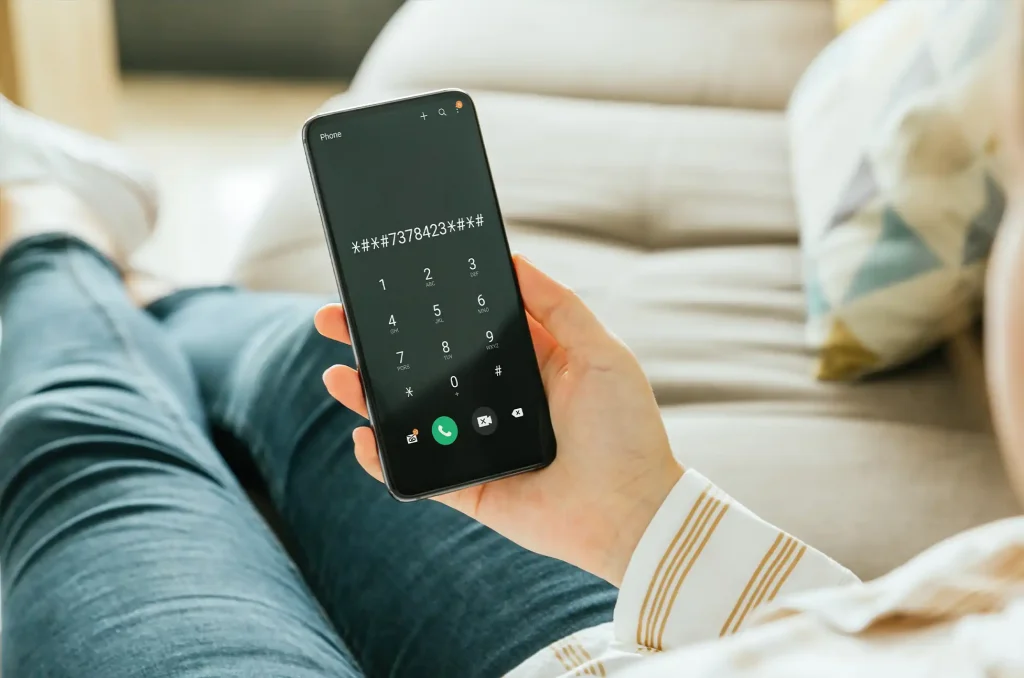
  1. Check your SIM lock status by dialing *#*#7378423#*#*
  2. Choose Service info then Sim lock.
  3. Confirm if your Sony Xperia phone is eligible for the service.
  • There should be an “X” before Network and the counter should show number above 0 (zero). The number beside Network indicates how many attempts you have to unlock the phone. If it says ‘7’ it means you have seven attempts; ‘0’ simply means it is hard locked and cannot be unlocked using this method.
  1. Find the IMEI number by dialing *#06#. Jot it down as this will be your code.
  2. Go to: https://www.freeunlocks.com/
  3. Select the brand of your phone.
  4. Type the IMEI of your phone.
  5. Enter your email for confirmation.
  6. Choose the country where the phone is locked to.
  7. Choose your network/carrier.
  8. Confirm your payment and wait for an email confirmation.

If you have received the email, follow the procedures indicated below:

  1. Remove the original SIM card from your phone.
  2. Insert an unaccepted SIM card.
  3. You should now see a box to enter the unlock code.
  4. Enter the unlock code provided by FreeUnlocks.

Conclusion 

Unlock Sony Xperia phone is a simple process that can be performed in a few simple steps. You may transfer networks, travel overseas, and boost the resale value of your phone by unlocking it. To guarantee that everything goes smoothly, use a trustworthy unlocking service like FreeUnlocks.

So there you have it: a detailed method to unlocking any Sony Xperia phone. We hope you found this information useful and that you may now fully use your unlocked phone!

Can we unlock your phone? Start here!

Apr 19

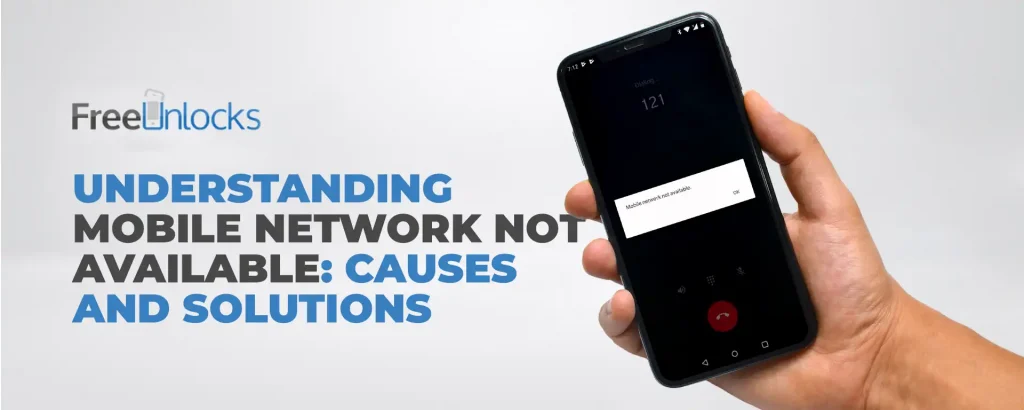
Understanding ‘Mobile Network Not Available’:Causes and Solutions

mobile network not available

Have you ever encountered the frustrating message “Mobile network not available” on your phone? This issue can be caused by various factors, such as hardware malfunction or software glitches. In this post, we’ll explore some common reasons why your mobile network may not be available and suggest some troubleshooting tips to help you resolve the problem. 

In numerous instances, these issues are minor and can be easily resolved, allowing you to quickly regain access to a functioning network. Whether you have a different carrier or not, we’ve got you covered. Understanding the root cause and solution can effectively prevent the issue from happening again.

Understanding the Causes of Mobile Network Inaccessibility

1. Check the Airplane mode and settings.

Restarting your device is always the first step in any troubleshooting process. To access the mobile network settings, go to Settings, then select Network & Internet, and then choose Mobile network. When you arrive, make sure to check if your SIM card is still active. You can also find APN (Access Point Names) under Advanced Settings and restore network settings.

If you’re still experiencing difficulty connecting to the mobile network, consider enabling and disabling Airplane mode as a potential solution. To do so, simply select it from the toolbar menu located above the notification panel.

2. Re-insert your Sim card

mobile network not available

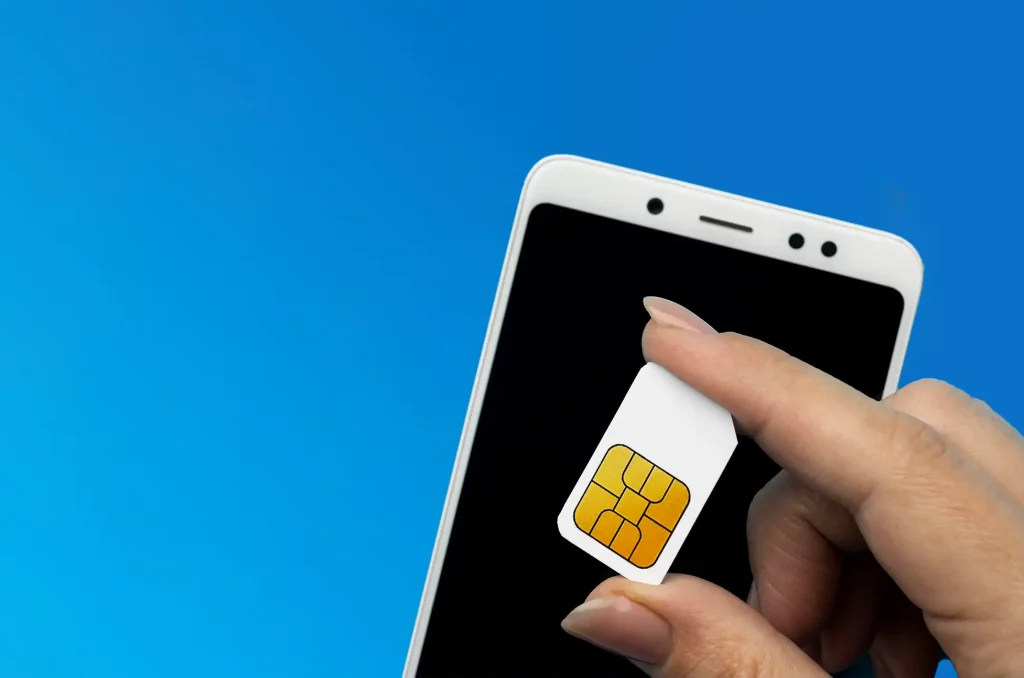
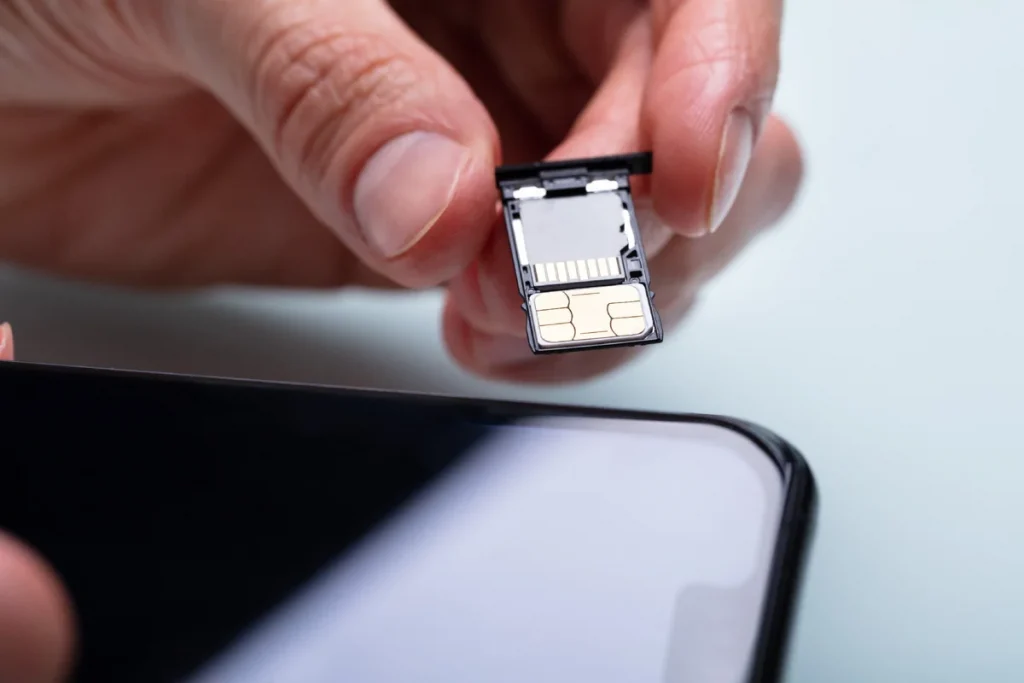
Removing and replacing your SIM card can be a helpful troubleshooting step. Shuffling between SIM slots is possible if your device supports it. Restarting your smartphone and turning on mobile data can help you determine if it is working properly. Make sure to monitor your data usage as you could have drained your mobile data package. In today’s world, it’s easy to burn through your data allocations quickly if you’re not mindful.

3. Update Your System

When it comes to optimizing your device’s performance, one consideration worth exploring is updating its firmware. Mobile data bugs are rare, but they can happen. To ensure that you receive all the fixes, it’s a good idea to keep your phone updated with the latest system version.

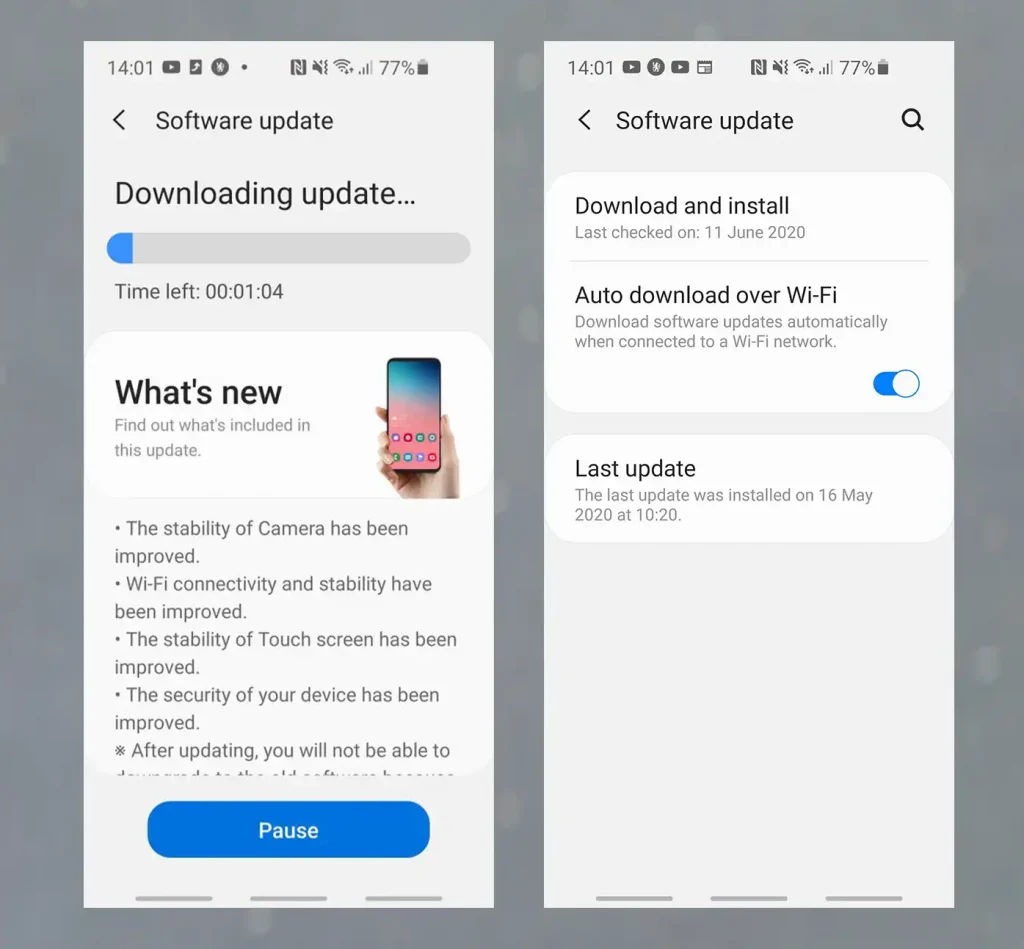
Are you curious about how to check if your Android smartphone is running on the latest software version? Open the Settings menu > System  > System update option to choose > Check for and install any available updates.

mobile network not available

4. Reset Network Configuration

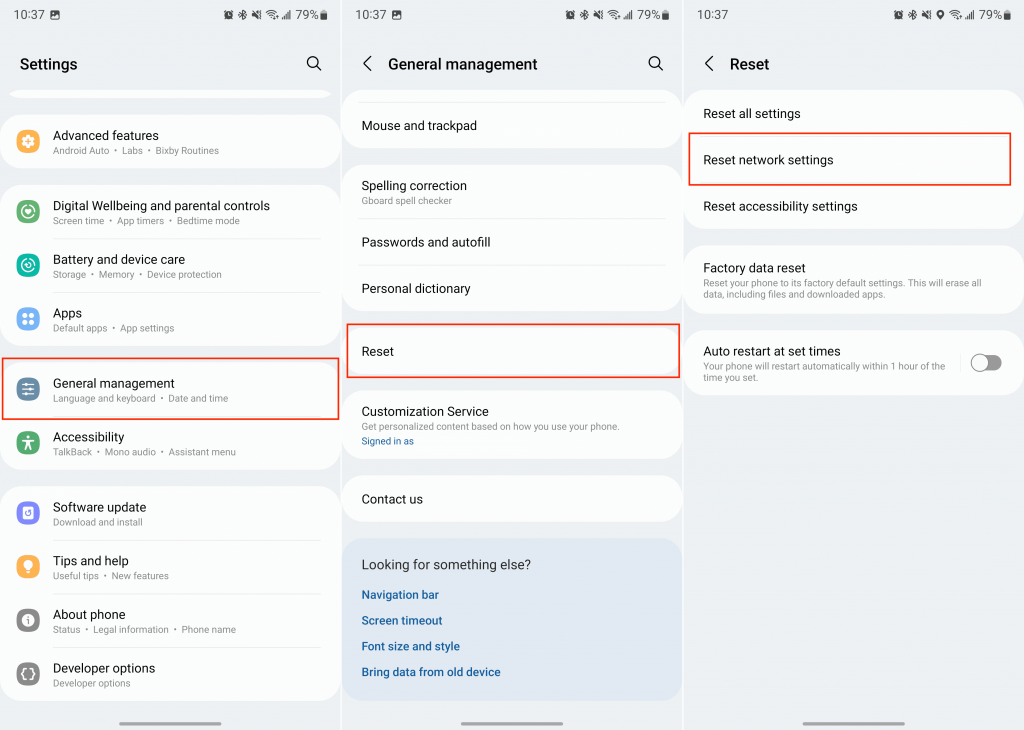
If the previous methods did not work, you may want to try resetting your network settings to their default settings. When setting up a VPN, all stored Wi-Fi networks and Bluetooth connections will be deleted. Restoring SIM and mobile settings can be helpful in resolving any issues you may be experiencing. 

Here’s how to reset your Android’s network settings:

Open the Settings menu > Select a system > Activate the Reset options > Reset Wi-Fi, Bluetooth, and Mobile > Reset the settings by pressing the Reset button.

mobile network not available

5. Contact your service provider

Reach out to your service provider for help. Activating a new SIM card is necessary before using it. Other network difficulties could potentially be causing issues for end-users.

6. Get your phone unlocked

If you’re looking for a reliable unlocking service, look no further. Sometimes, when all else fails, you may need to unlock your device.

Unlocking your device has never been easier! Simply complete the form on FreeUnlocks.com and receive the unlocking code straight to your email inbox. Following the entire procedure is a breeze. One of the most important aspects of this service is its reliability, as it poses no threat of damage to your device. Unlocking your phone does not violate your warranty.

mobile network not available

Conclusion

A missing network could potentially be a minor issue that resolves itself. If that’s not the case, consider trying one of these options individually. There is likely at least one option that will work for you. Have you ever faced network issues before? What worked best for you? Leave your thoughts in the comments section!

Can we unlock your phone? Start here!

Jun 06

Carrier Unlock Blacklisted Phone

As a result of the high cost of new smartphones in today’s market, purchasing a pre-owned model may be the most financially advantageous choice. However, how can you be sure that a secondhand phone has not been blacklisted? In the upcoming sections, we will discuss what to do if you find or buy a blacklisted phone, as well as whether or not it is possible to sell such a device.

What is a blacklisted phone?

By default, phones are not added to the blacklist. If something goes wrong with a phone, the carrier could decide to blacklist it. This is typically an indication that the device’s original account owner has stopped making payments on the device, or that the item has been reported lost or stolen. When a phone is blacklisted by a carrier, it is no longer able to use the network that it was originally intended for, and it also cannot be unlocked so that it can be used on another network.

Are blacklisted phones completely useless?

Checking the IMEI number is a good idea to make sure you aren’t getting ripped off when buying a used phone. But what if you already own one? The phone can still be used by unlocking it if you no longer have access to the original owner.

Why is my phone blacklisted?

If you have discovered that your phone is on a blacklist but are unsure of the reason, the information in this section can assist you in determining the reason. The following is a list of some of the reasons why:

You have unpaid phone bills

Young woman using smart phone and checking bills, taxes, bank account balance and calculating expenses in the living room at home

If you purchased a used phone and discovered that it had been blacklisted, this may have been the result of the previous owner’s failure to make payments on outstanding bills.

Your phone is reported lost or stolen

Close-up partial view of robber stealing valuables, house robbery scene

If your phone is on a blacklist, it’s possible that it was either stolen or misplaced. These days, carriers offer a feature called the Blacklist, which allows customers to report their phones as lost or stolen. When a device is added to the Blacklist, it loses the ability to connect to the networks of any carriers.

Other reasons why your phone is blacklisted:

Providing false information, moving to a new address, or engaging in fraudulent activity about your mobile phone insurance are some of the additional reasons that might lead to your smartphone being blacklisted.

How does blacklisting affect you?

Blacklisted phones can’t connect to other phone carriers, so they won’t work until a phone carrier takes them off the list. Since blacklist reports are tracked and watched all over the world, phones that are on a blacklist can’t get around foreign trade systems.

Can you sell a blacklisted phone?

You should probably be concerned about selling a phone that has been blacklisted. Is it possible? Yes! You may be able to sell a phone that has been blacklisted through a local pawn shop or repair shop, the majority of which will use the phone for its parts.

How do you get your phone off the blacklist?

Unlocking With FreeUnlocks

If your device’s warranty is still valid, unlocking it with us will not void it, and you won’t have to go through any complicated procedures. All we require is your IMEI or the phone’s serial number to unlock Apple devices like iPhones and iPads. To unlock any sort of Android phone, we just need your IMEI number.

  • CHOOSE YOUR PHONE

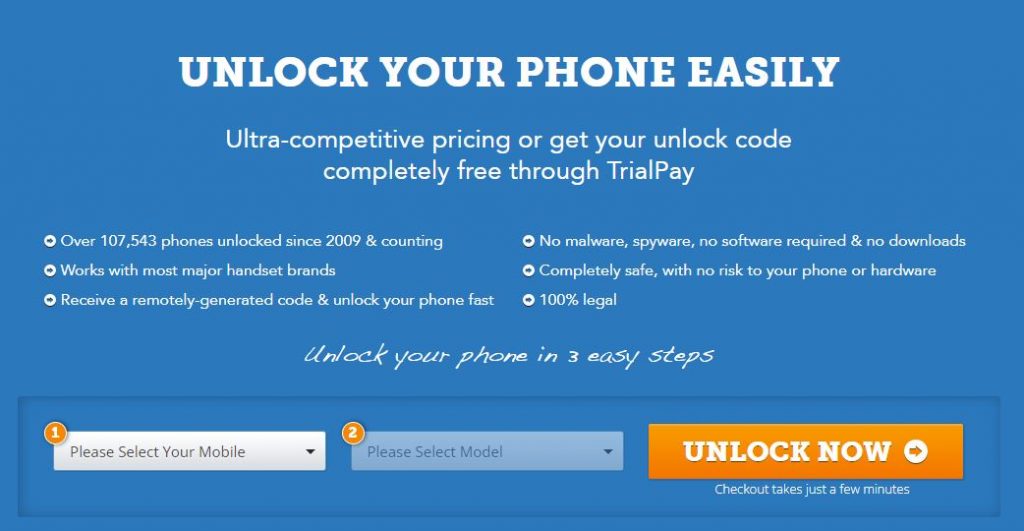
Simply select your phone’s brand and model and then click “UNLOCK NOW!” We include unlocks for virtually all well-known mobile phone brands including HTC, Sony, Apple, Samsung, BlackBerry, Nokia, and Huawei.

  • CHOOSE PAYPAL OR Stripe!

Buy it now safely & securely with PayPal or Stripe at the world’s most competitive prices

  • UNLOCK YOUR PHONE!

You’ll get an email with everything you need to unlock your phone by entering a simple unlock code. No software downloads are required.

Here at FreeUnlocks, we’re so confident in our ability to surpass your expectations with our service that we guarantee it. We provide a money-back guarantee on any purchased unlock. You will get a full refund if video evidence that the code does not work is provided.

If a free Trialpay unlock does not match your expectations, we will either keep your card on file for a future unlock or refund you if you have already paid for your offer.

Conclusion

You can’t do much if you get a phone that has been reported stolen or lost. So, the goal is to make sure you don’t get a phone that’s already been put on a blacklist. Follow these two easy steps to make it happen: Check the IMEI number and only buy phones from stores you know you can trust. Tell us in the section below if you have any questions!

Can we unlock your phone? Start here!

Older posts «

» Newer posts